HOW WE CREATED AN EDIBLE LIVING WALL IN OUR BACK GARDEN USING RECYCLED MATERIALS
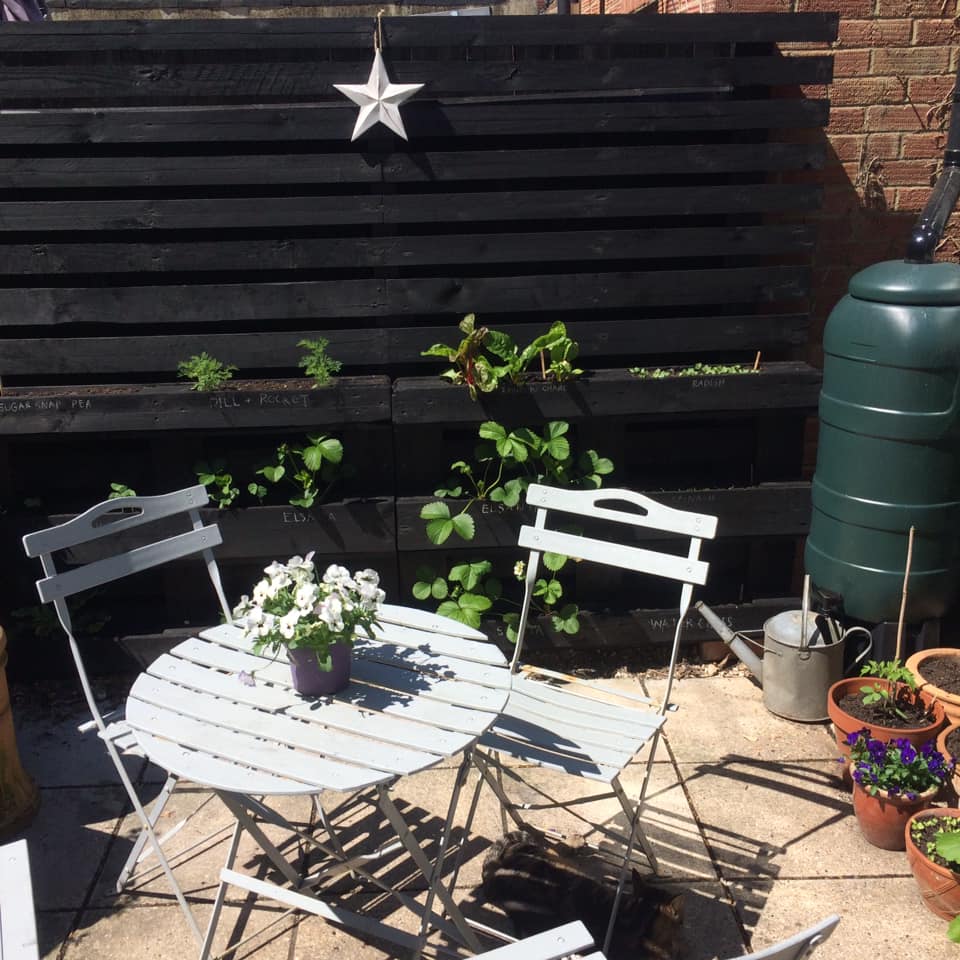 Our back garden faces South but is overhung by mature trees, so our prime growing spot also happens to be our sunny patio where we like to sit. Our goal since moving to this property was to grow as much of our own food as possible within this urban environment, and so this presented us with some design challenges.
I got thinking about how we could provide growing space which took up very little horizontal space, and came up with the idea of creating some sort of living wall. It was important to me that it was both aesthetically pleasing as well as functional, and so I began researching ideas. Many solutions seemed expensive as well as involving lots of newly manufactured materials, which had a higher carbon footprint than I was happy with.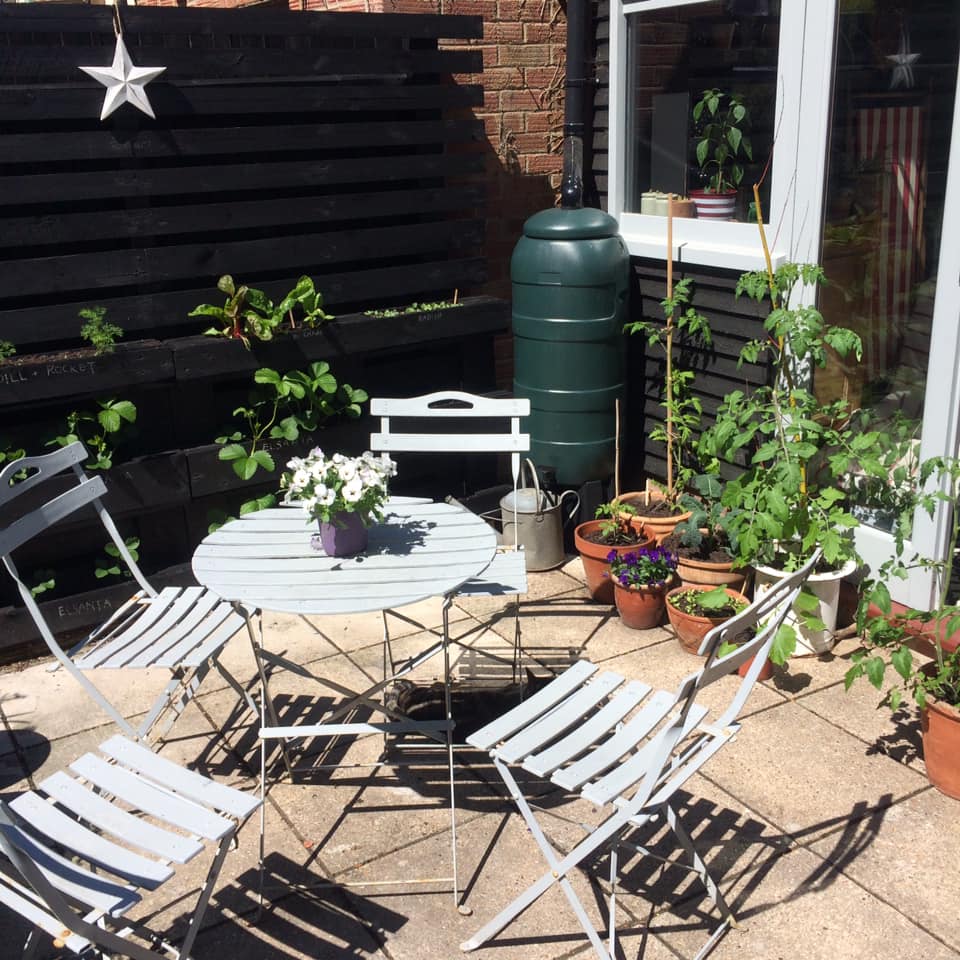
Eventually I stumbled across an Instagram post by @theshruburbs who created a planter fixed to their fence, made out of old pallets, and this sparked the solution for me. My husband works for an Organic Whole Foods company and so he has access to pallets, and could pick and choose the best ones to use.
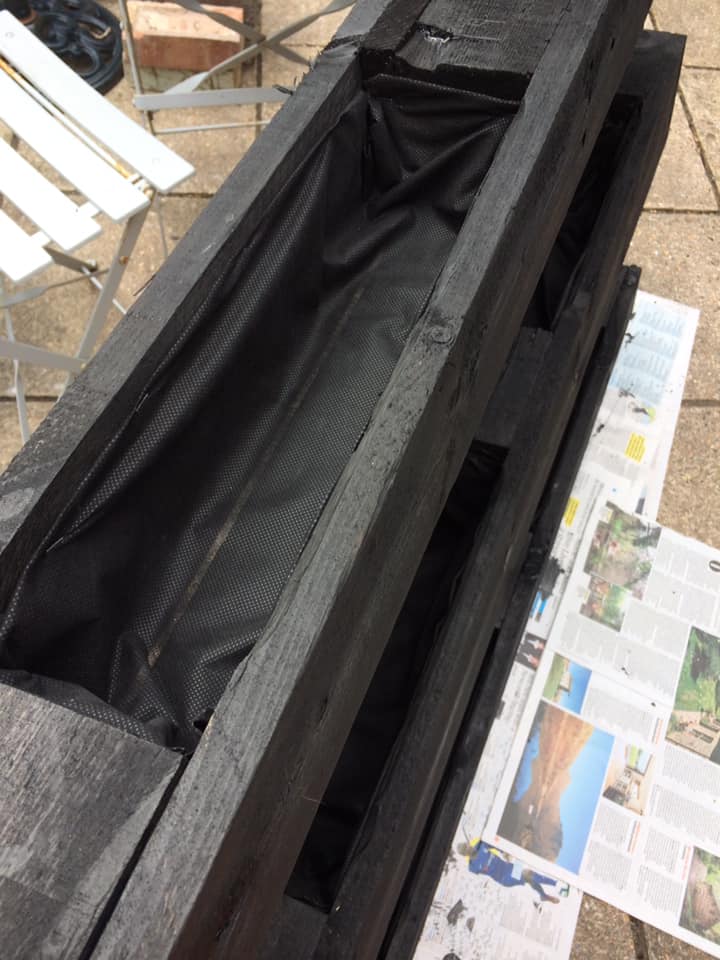
We followed the tutorial provided in this post by @theshruburbs to create the bottom half of our ‘wall’, using pieces of heat treated pallet (rather than chemically treated) to create containers. 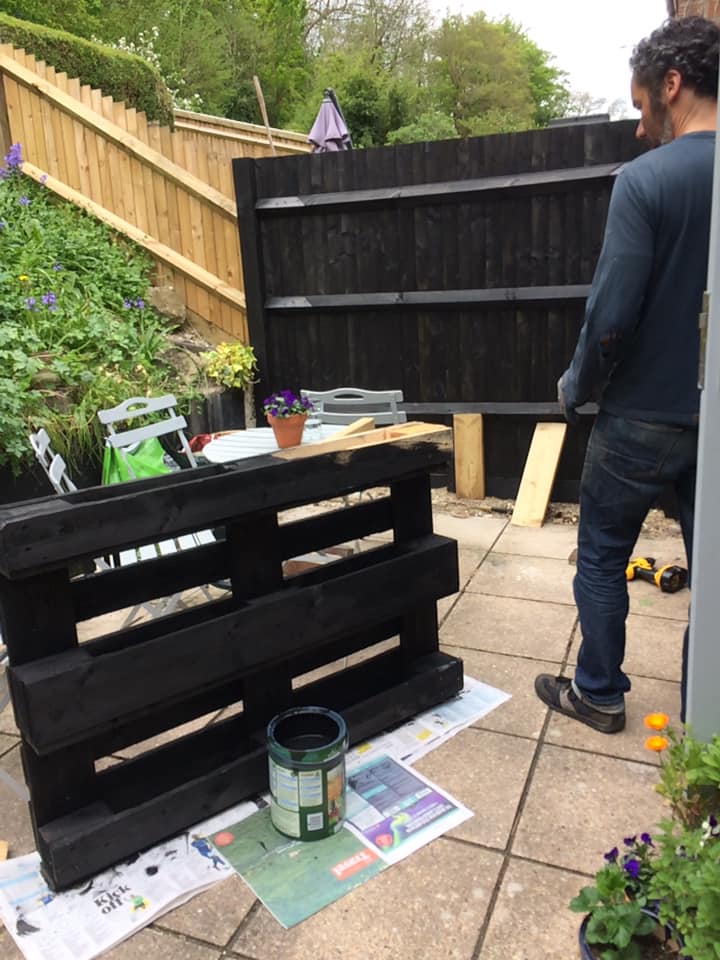 This is done by fixing extra slats onto the underside of the reinforced sections to create vertical planting pockets. The spare slats came from a spare pallet, and by carefully removing them with a crowbar, with nails intact, we nailed them straight into place. Then I lined these pockets with landscaping fabric, fixing them into place with a stapler.
We decided that we’d use black paint to protect and smarten up the whole pallet wall, so we first painted our fence that would be partly visible underneath. Then we then attached the pallets with strong bolts.
For the top half of the wall, we carefully took apart and reused another two pallets. 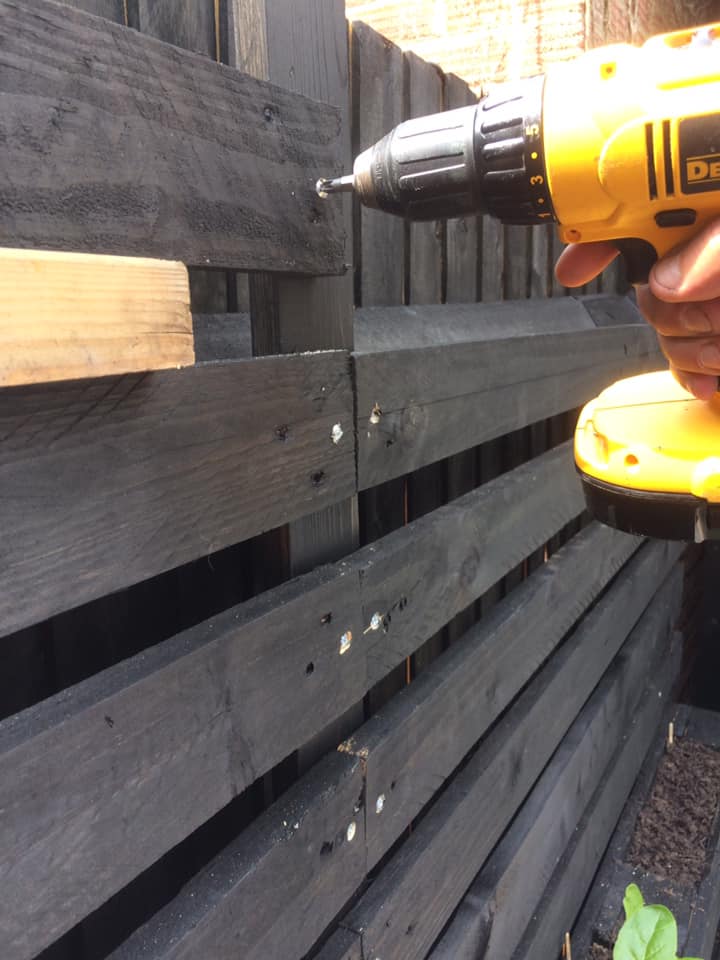 We used the slats to create a contemporary look, with the aim that in future we will attach pots from these slats by hanging them off butchers hooks from the gaps on the slats. To make sure the slats were all perfectly straight and level, we used a spirit level and a piece of wood as a spacer, after calculating how much space would be needed between each slat to fit the space (it took a bit of maths!). We then filled all the holes with wood filler and painted it all black to match the rest.
The next job was to research the best plants to grow in the wall. I had to think about which plants would be happiest in reasonably small planters, but would offer the maximum yield. The bonus is that they will get a lot of attention being situated in our eating area, and it is also really easy to maintain in terms of watering being situated right next to the water butt. This made me think that I could probably grow some high maintenance crops in there successfully.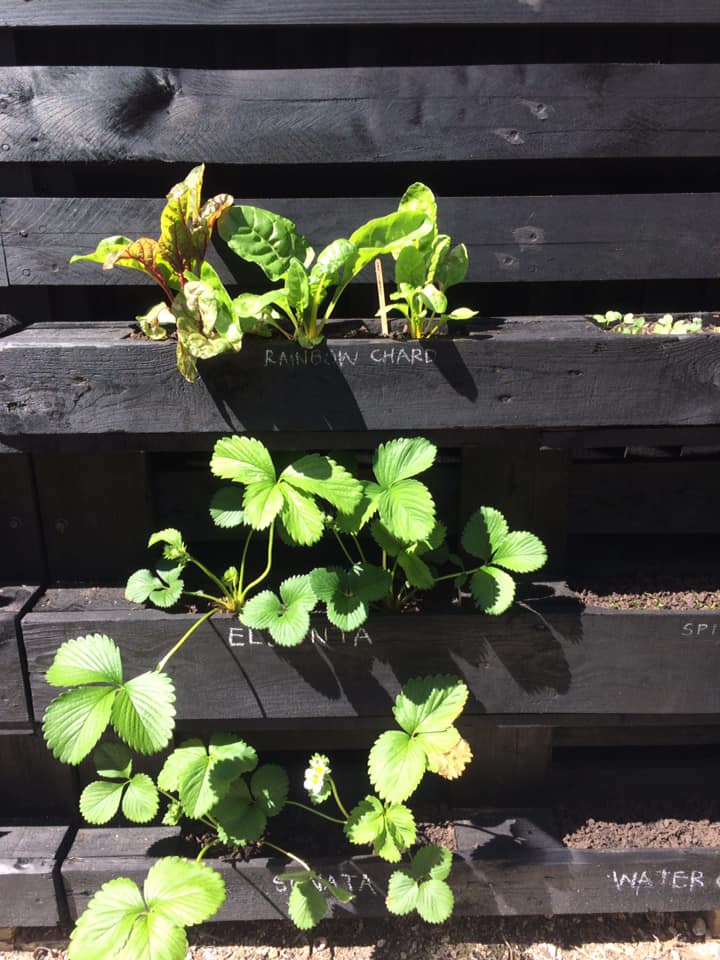
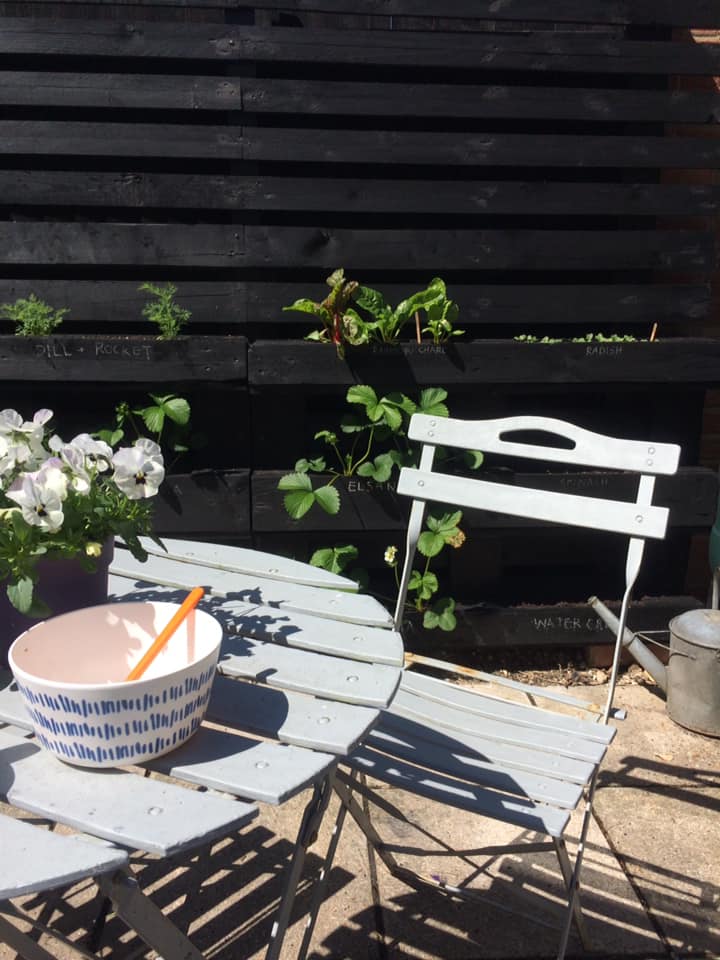
I decided in the end to put in several strawberry plants; I chose Elsanta and Sonata varieties. These will be situated in the same planter for a couple of years or so. In the other planters, I sowed quick cropping annuals: Spinach, Radish, Rocket, Sugar Snap Pea, Dill, and Nasturtium, which would be replaced with other crops as time goes on, like a mini vertical allotment. Having a black wall in a chalky area I found had other advantages; I could write the names of the plants with chalk onto my wall to save me having to create labels!
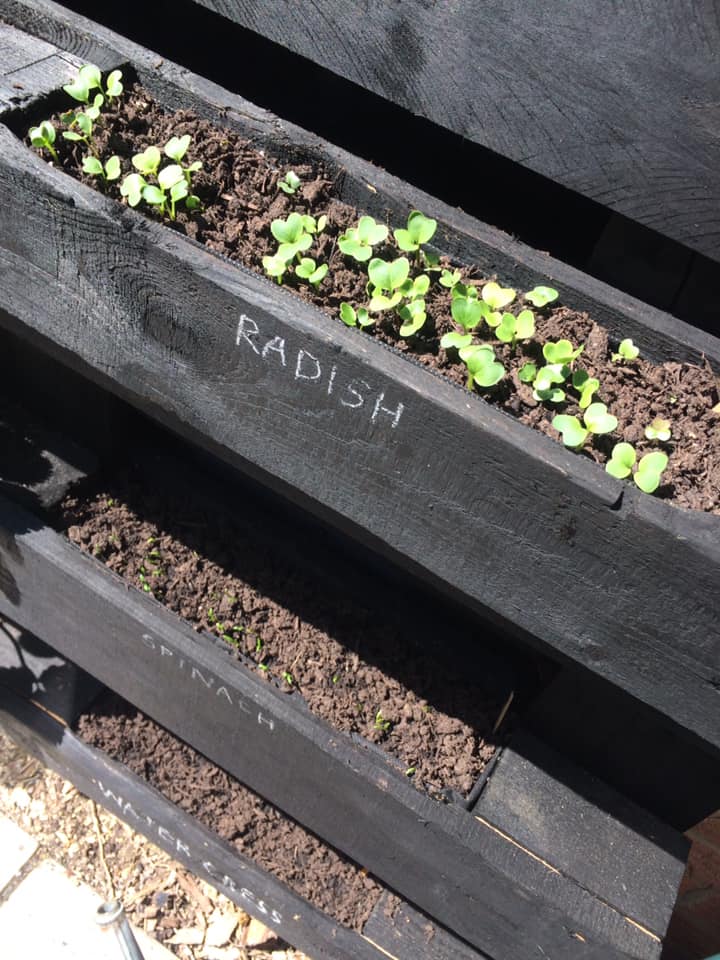 The strawberries are already flowering, and some of the annuals have popped up. It’s been an incredibly exciting and rewarding project, to create something from scratch from recycled materials, that fits our space so beautifully and productively. I recommend giving it a try – I could see this idea being well utilised in other small urban growing spaces, such as in backyard side returns and even on balconies.
For more pictures of my living wall and daily updates on my garden including gardening tips, do visit my Instagram account here.